
Content
Preparing Barley for the Freezer: The Simple Steps
Freezing barley correctly ensures it maintains a good texture upon thawing, avoiding that dreaded mushiness. Follow these straightforward steps for perfect results every time.1. Cook Your Barley
Start by cooking your barley according to the package directions. You can use either pearl barley (quicker cooking) or hulled barley (more nutritious, longer cooking). Rinse the barley well before cooking. Use water or broth for cooking – broth adds extra flavour right from the start. Here’s a little tip: aim to cook the barley until it’s just tender, perhaps slightly al dente. Slightly undercooking it can help it hold up even better after freezing and reheating, preventing it from becoming overly soft.2. Cool it Down Completely
This is arguably the most crucial step. Hot or even warm barley will create steam inside your freezer container. This steam turns into ice crystals, which rupture the grain structure upon thawing, leading to a mushy texture. You must let the cooked barley cool down completely before packaging it. The quickest way to do this is to spread the cooked barley in a thin, even layer on a large baking sheet. Let it sit at room temperature for about 30-60 minutes, or until it’s no longer warm to the touch. You can even pop the baking sheet in the refrigerator for 15-20 minutes to speed things up, but ensure it’s mostly cooled before doing so to avoid warming up your fridge too much.3. Portion Control
Once the barley is completely cool, decide how you want to portion it. Think about how you’ll use it later. Single servings? Family-sized portions for side dishes? Portions specifically for adding to soups? Using standard measurements like one-cup or two-cup portions makes it easy to grab exactly what you need for future recipes. Portioning now saves you the hassle of trying to break off a chunk from a giant frozen block of barley later.4. Package for Freezing
Proper packaging is key to preventing freezer burn and maintaining quality. You have a few options:- Freezer Bags: Heavy-duty zip-top freezer bags work wonderfully. Fill the bags with your desired portions, then squeeze out as much air as possible before sealing tightly. Flattening the bags helps them stack easily in the freezer and thaw more quickly.
- Airtight Containers: Freezer-safe airtight containers, either plastic or glass, are another great option. Fill the containers, leaving a little headspace (about half an inch) as the barley might expand slightly upon freezing. Ensure the lids are sealed securely.
5. Label and Freeze
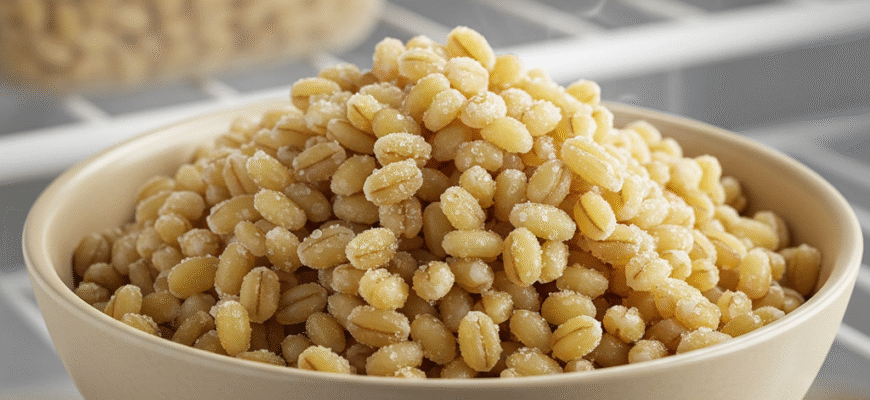
Don’t skip this step! Use a permanent marker to label each bag or container with the contents (“Cooked Barley”) and the date it was frozen. This helps you keep track of your freezer inventory and use the oldest portions first. Place the packaged barley in the freezer, laying bags flat initially until frozen solid, after which you can stack them or store them upright to save space.Verified Freezing Success: Properly cooled and packaged cooked barley freezes exceptionally well. By ensuring the grain is completely cool before bagging and removing excess air, you can preserve its texture remarkably. This makes frozen barley a reliable and convenient staple for quick meals.
How Long Can You Keep Barley in the Freezer?
For the best quality and texture, aim to use your frozen cooked barley within 3 to 6 months. While it might remain safe to eat beyond this period, its texture and flavour could start to degrade slightly. Freezer burn might also become more apparent over extended periods. Proper packaging significantly influences its longevity, so ensuring those airtight seals is important.Thawing and Reheating Your Frozen Barley
When you’re ready to use your stash, you have several easy options for thawing and reheating:Thawing Methods
- Refrigerator: This is the best method for maintaining texture. Simply transfer the container or bag from the freezer to the refrigerator and let it thaw overnight.
- Microwave: Need it faster? Use the defrost setting on your microwave or microwave on low power in short bursts, breaking up any clumps as it thaws. Be careful not to start cooking it.
- Directly into Dishes: For soups, stews, or chili, you can often add the frozen barley directly to the pot during the last 15-20 minutes of cooking. It will thaw and heat through beautifully, soaking up the flavours of your dish.
Reheating Methods
Once thawed (or if adding directly), you might want to reheat it, especially if using it as a side dish.- Microwave: Place the thawed barley in a microwave-safe bowl, add a splash of water or broth (about a tablespoon per cup of barley) to prevent drying out, cover loosely, and heat on high for 1-2 minutes, or until heated through. Stir halfway.
- Stovetop: Put the thawed barley in a saucepan with a splash of water or broth. Cover and heat over medium-low heat, stirring occasionally, until warmed through, usually about 5 minutes.
Putting Your Frozen Barley to Good Use
Having frozen cooked barley opens up a world of quick and easy meal possibilities:- Speedy Soups and Stews: Add it directly to simmering pots for extra body and fibre.
- Quick Grain Salads: Thaw, then toss with chopped vegetables, herbs, feta cheese, and a vinaigrette.
- Easy Side Dishes: Reheat and serve alongside grilled chicken, fish, or roasted vegetables. Stir in some herbs or a knob of butter.
- Hearty Breakfast Bowls: Reheat with a splash of milk (dairy or plant-based), top with fruit, nuts, and a drizzle of maple syrup.
- Grain Bowl Bases: Thaw and use as the foundation for nutritious grain bowls, layering on protein, veggies, and sauce.
- Filling for Wraps or Peppers: Mix thawed barley with beans, corn, and spices for a satisfying filling.


